
The short answer
Wall preparation is needed whenever walls have texture, cracks, holes, water damage, glossy paint or leftover wallpaper residue. We repair and smooth the surface, check for moisture, and seal it with the right primer so new wallpaper bonds, lies flat and comes off cleanly later.
Most wallpaper problems trace back to the wall, not the paper. Seams that open, bubbles that never flatten, cracks that reappear through a fresh pattern, and stains that bleed through months later almost always start with a surface that was not ready. WallEdge Installation offers wall preparation and repair as its own service for homeowners in Boynton Beach and nearby towns in Palm Beach County, including Ocean Ridge, Hypoluxo and Delray Beach. Sometimes it is the first half of a wallpaper job; sometimes you simply want the walls fixed before you decide what goes on them. Here is what we look for, how we repair and prime, how prep connects to the hanging steps that follow, what affects the scope, and how to keep walls in good shape afterward.
Signs your walls need work first
You do not need to diagnose the wall yourself; that is part of our visit. Still, it helps to know what we are looking for. Shine a flashlight across the wall at a low angle at night, and the light will reveal what daylight hides.
Homes in this area add a few local twists. Many older ranch houses have plaster on concrete block, which develops long hairline cracks. Newer builds often have heavy knockdown texture sprayed over drywall. Coastal condos can show settling cracks at corners and staining under windows from wind-driven rain during storm season.
- Knockdown, orange-peel or swirl texture that would show through smooth paper.
- Nail pops, dents, anchor holes and torn drywall paper.
- Cracks at corners, above doors or along joints in block walls.
- Water stains or soft spots near windows, sliders and AC closets.
- Glossy or semi-gloss paint that paste will not grip.
- Glue residue, torn backing paper or patches left from an earlier removal.
How we repair and prime
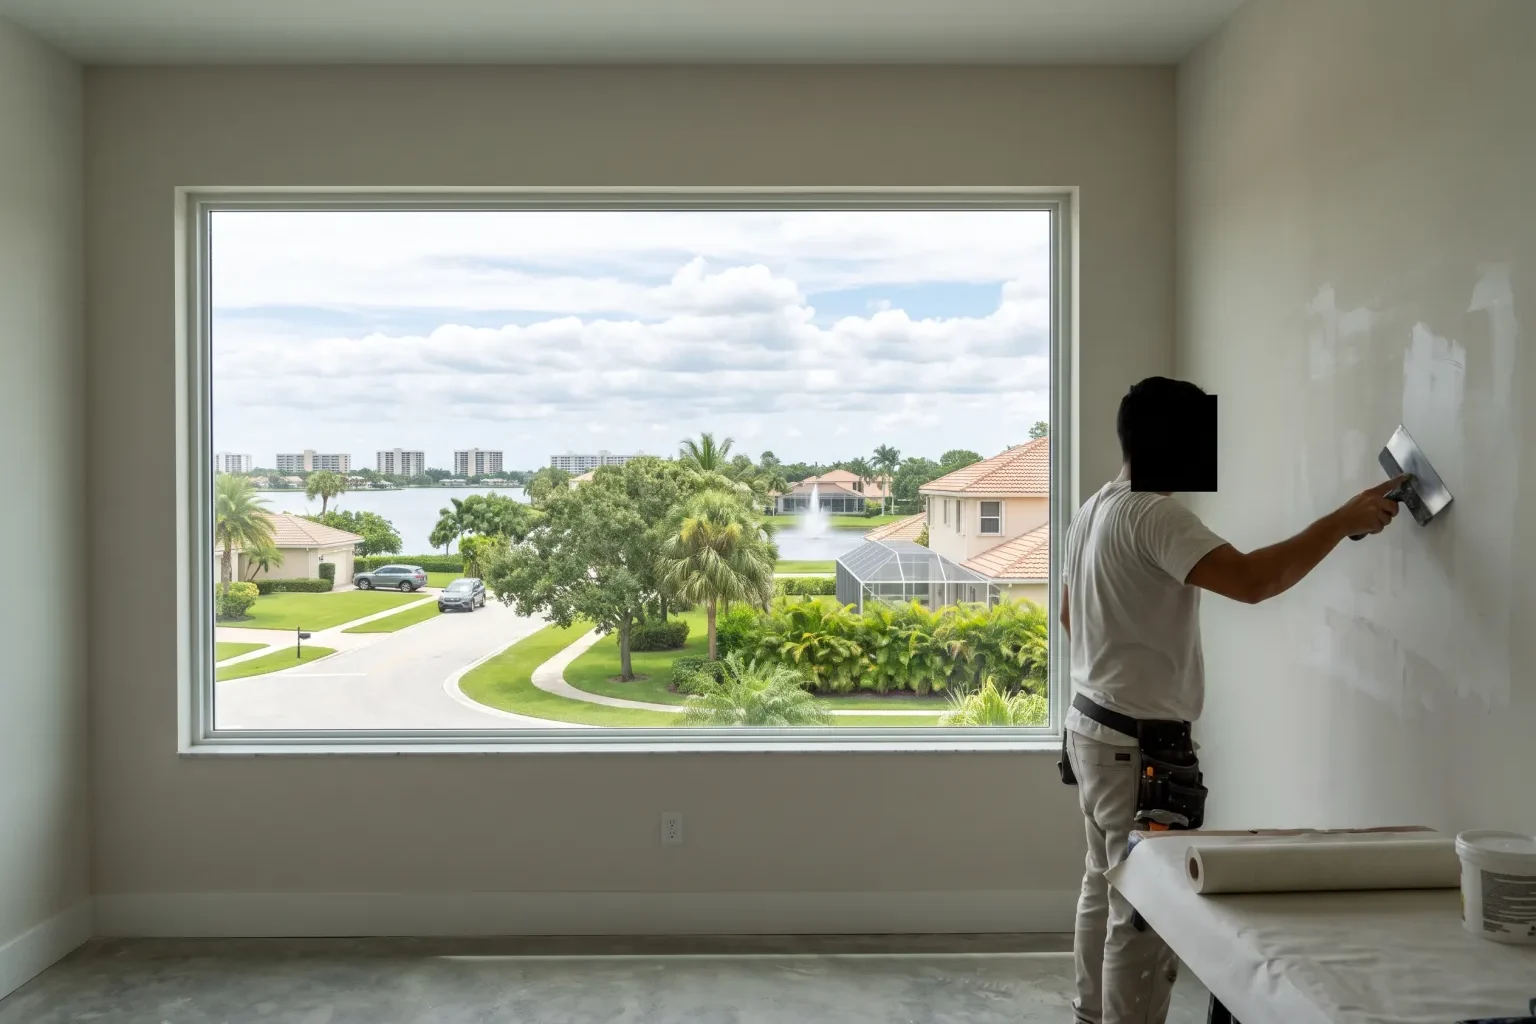
Repairs come in layers. Loose paint and drywall paper are cut back to sound material. Torn drywall face paper gets sealed with a stain-blocking primer before any compound goes over it, otherwise it bubbles. Holes and dents are filled; larger damage gets a patch or a section of new board. Cracks in plaster are opened slightly, taped where needed and filled so they are less likely to return.
Textured walls are either sanded down or skim coated, which means troweling thin coats of joint compound across the wall and sanding between coats until it is flat. On walls that are beyond a reasonable skim, a heavy lining paper is another option.
Before priming, we test for moisture. A wall that is still damp from a past leak will defeat any primer, so we find and dry the source first and tell you if a plumber or roofer should be involved.
The final step is the primer. We choose a wallcovering primer suited to the paper you plan to hang: a pigmented acrylic for most papers and non-wovens, a mildew-resistant type for bathrooms and kitchens, and a tinted coat when the wall color would show through a light paper.
How prep sets up the hanging steps
Good prep is not separate from installation; it shapes every step that comes after. When the wall is flat and evenly sealed, measuring is more accurate because corners and edges are true. Pattern matching holds, since paste dries at the same rate across the wall and strips do not shrink unevenly. Seams stay closed because the primer gives a consistent bond right to the edge, and trimming at ceilings and baseboards produces a clean line instead of tearing into soft, dusty compound.
If you are hiring us for the full project, prep and hanging are scheduled together so compound and primer have time to dry. If you are using another installer or plan to hang it yourself, we can leave the wall primed and ready.
What drives the scope of a prep job
Prep work varies more than any other part of a wallpaper project, so we quote it after seeing the walls in person. The amount of damage and texture is the biggest factor, followed by the type of wallcovering going on afterward, since thin papers and grasscloth demand a smoother surface than heavy vinyl. Pattern matters too: a tight geometric repeat shows every wave in a wall. Room size, ceiling height and the number of corners, windows and openings all add time, as does any drying time for moisture issues.
Keeping repaired walls in good condition
Once the wall is finished and papered, the best protection is a stable indoor climate. Keep the AC running steadily through the hot, humid months, and avoid letting the house sit closed and warm for weeks at a time. Fix roof, window and plumbing leaks quickly, because water behind a wall will eventually show up on its surface.
Use proper anchors when hanging shelves or art, and place furniture bumpers on doors and chair backs. After a tropical storm or a hurricane, walk the house and look at the walls under windows and along exterior block walls; early stains are easier to deal with than soaked drywall.